
How to draw a Nuttall's Cottontail


You can print out the base construction lines and start drawing on tracing paper or you can draw the grid layout yourself using the following steps… Show more
1) Draw a rectangle that will define the conditional proportions and boundaries of the chosen drawing.
2) From the middle of the rectangle, draw one vertical and one horizontal line equally dividing the shape.
3) Draw another horizontal line equally dividing the upper half of the rectangle. Similarly, draw a horizontal line equally dividing the bottom half of the rectangle.
4) Draw a vertical line equally dividing the left half of the rectangle. Similarly, draw a vertical line equally dividing the right half of the rectangle.
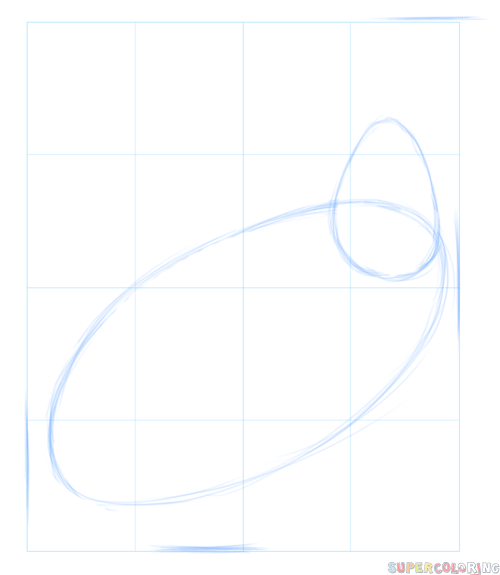
Draw the rabbit’s silhouette on the paper. Use simple geometric shapes like sphere and oval to draw the rabbit’s head and body respectively.
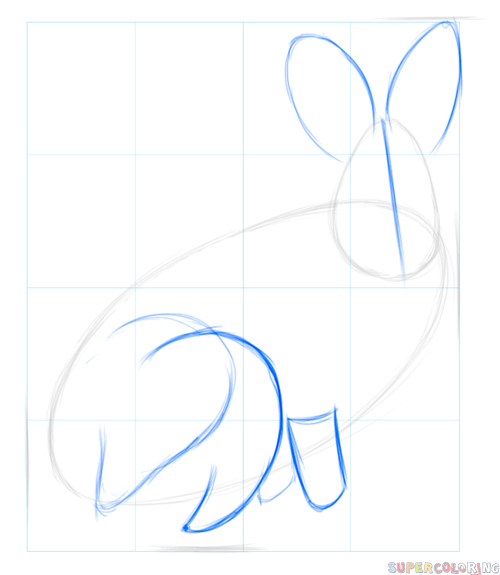
Use simple lines to draw the rabbit’s trunk, ears, and legs. This will serve as your outline. Do not forget to sketch a lower lip.

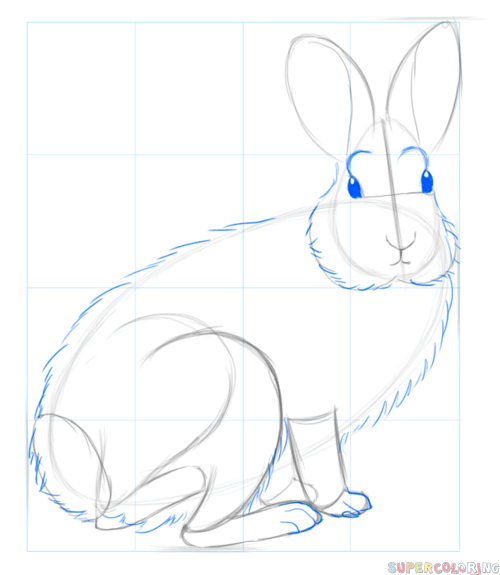
Sketch the rabbit’s eyes, nose, mouth and cheek. Start drawing the animal’s feet and tail too.
Mark the most fluffy rabbit’s parts with single strokes.

Now start working on fur: erase or intensify lines, make fur “layer” look denser or vice versa. Do not forget to erase unnecessary lines and intensify your strokes. So, the rabbit is ready!
Free for personal, educational, editorial or commercial use. This work is licensed under a Creative Commons Attribution-Share Alike 4.0 License. Attribution is required in case of distribution.


